Imagine serving up that perfect crispy, golden-brown dish straight from your own kitchen. You get all the flavor of your favorite restaurant meal without the heavy grease or complicated cleanup.
This method transforms a beloved comfort food into something quick and healthy. You’ll achieve that satisfying crunch while keeping things light and simple for any weeknight.
Your family will ask for this meal again and again. It brings the authentic taste of Italy right to your dinner table with minimal effort and maximum results.
Key Takeaways
- Create restaurant-quality meals at home with your countertop appliance
- Achieve a crispy exterior without deep frying or excess oil
- Perfect for busy weeknights and family dinners
- Maintain texture even with sauce and melted cheese toppings
- Easily adjust portion sizes for individuals or groups
- Enjoy authentic flavors without lengthy cooking times
- Get pro tips for consistent, perfect results every time
Why You’ll Love This Air Fryer Chicken Parmesan (Easy Italian Classic)
Your kitchen transforms into an Italian trattoria the moment you start cooking this dish. The incredible aromas will make your family gather around, anticipating the delicious meal to come.
This method brings multiple benefits that make it stand out from traditional recipes. You get amazing flavor with less work and better results.
The Restaurant Experience at Home
That wonderful smell of cooking chicken parmesan fills your home just like your favorite Italian restaurant. The air fryer creates those authentic scents that make everyone hungry.
You achieve that perfect golden-brown crust without deep frying. The result looks and tastes professional every single time.

Healthier Than Traditional Methods
This cooking approach uses significantly less oil than pan-frying or deep-frying. You still get that satisfying crunch without the heavy grease.
The air fryer method locks in moisture while creating that signature crispy exterior. Your chicken stays juicy inside with a perfect texture outside.
You can enjoy your favorite comfort food without guilt. It’s a healthier version that doesn’t sacrifice any flavor.
Perfect for Busy Weeknights
The total cooking time is just 15 minutes including preheating. Traditional methods take much longer to prepare and cook.
Single-layer cooking ensures every piece comes out perfectly crispy. You don’t need to constantly monitor or flip your chicken.
This recipe works equally well for solo dinners or family meals. You can easily adjust portion sizes to match your needs.
The convenience makes it ideal for hectic schedules. You get a restaurant-quality meal without spending hours in the kitchen.
Essential Ingredients for Perfect Chicken Parmesan
Great meals start with quality components that work together harmoniously. Your ingredient selection directly impacts the final texture and flavor of your dish.
Choosing the right elements ensures your creation turns out perfectly every time. Let’s explore what makes each component essential for success.
Chicken Preparation Basics
Begin with boneless, skinless chicken breast halves for optimal results. These cuts provide the perfect foundation for your masterpiece.
Proper preparation involves butterflying and pounding to an even ¼ inch thickness. This technique ensures uniform cooking and tender results.
Your pieces will cook evenly without dry spots or undercooked areas. Consistent thickness is the secret to professional-quality cutlets.
Breading and Coating Components
Panko bread crumbs create an exceptionally crispy exterior that traditional varieties can’t match. Their light, flaky texture delivers superior crunch.
Combine these crumbs with freshly grated Parmesan Reggiano for enhanced flavor. The cheese integrates beautifully into your coating mixture.
An egg wash acts as the perfect adhesive for your breading. This simple mixture ensures your coating stays firmly in place during cooking.
Essential seasonings include oregano, basil, salt, pepper, garlic powder, and crushed red pepper. These create authentic flavor profiles that elevate your dish.
Cheese and Sauce Selection
Select high-quality mozzarella cheese for that perfect melt and stretch. Whole milk varieties offer superior flavor and texture.
Provolone makes an excellent alternative if you prefer its distinctive taste. Both options create beautiful golden bubbles when melted.
Your marinara sauce can be homemade or a quality store-bought version. Rao’s Arrabbiata Sauce works wonderfully for those who enjoy subtle heat.
A light cooking oil spray helps achieve golden-brown crispiness without greasiness. This final touch ensures perfect texture development.
| Ingredient Category | Recommended Choices | Purpose & Benefits |
|---|---|---|
| Protein Base | Boneless, skinless chicken breast halves | Even cooking, tender texture, perfect thickness |
| Breading Components | Panko bread crumbs, Parmesan Reggiano | Superior crispiness, enhanced flavor profile |
| Binding Agent | Egg wash | Secure coating adhesion, consistent coverage |
| Cheese Selection | Mozzarella or provolone | Perfect melting, stretch, golden finish |
| Sauce Options | Homemade or quality store-bought marinara | Authentic flavor, proper consistency |
| Seasoning Blend | Oregano, basil, garlic powder, red pepper | Authentic Italian flavor enhancement |
Your ingredient choices transform simple components into an extraordinary meal. Each element plays a crucial role in creating the perfect final result.
With these quality ingredients, you’re ready to build something truly special. The next steps will guide you through preparation and cooking techniques.
Preparing Your Chicken for Air Frying
Proper preparation transforms simple ingredients into something extraordinary. Your technique during these crucial steps determines the final texture and quality.
Mastering these methods ensures every piece comes out perfectly cooked. You’ll achieve that restaurant-quality crunch everyone loves.
Butterflying and Pounding Techniques
Start by creating thin, even cutlets through proper butterflying. Slice each breast widthwise almost completely through, then open it like a book.
Place your chicken between parchment paper before pounding. Use gentle outward motions moving away from the center.
Avoid over-pounding to prevent mincing the meat. Your goal is uniform thickness without tearing or damaging the texture.
This technique ensures quick, even cooking in your countertop appliance. Every piece will cook at the same rate for perfect results.

Creating the Perfect Breading Station
Set up three separate shallow bowls for an efficient workflow. This organization keeps your process clean and systematic.
Your first container holds seasoned flour for initial coating. The second contains beaten eggs for binding.
The final bowl features your panko-parmesan mixture. This combination creates that signature crispy exterior.
Proper station setup prevents cross-contamination and ensures consistent results. You’ll move through the breading process smoothly.
Coating Tips for Maximum Crispiness
Begin by dipping each piece in flour, shaking off excess. Next, coat thoroughly in egg wash for proper adhesion.
Finally, press firmly into the bread crumb mixture. Ensure crumbs stick to all surfaces for complete coverage.
Use dry hands to prevent clumping and ensure even coating. This technique guarantees that crispy texture everyone craves.
Refrigerate breading pieces for 30 minutes before cooking. This resting period helps the coating set properly.
Your prepared chicken will maintain its perfect crust during cooking. The result is that professional-quality finish you desire.
Cooking Process: From Raw to Restaurant-Quality
Your perfectly prepared pieces transform into golden masterpieces through precise cooking techniques. This stage turns your careful preparation into that crispy, juicy result everyone loves.
Following these steps ensures professional outcomes every time. You’ll achieve that perfect balance of texture and flavor.
Preheating Your Air Fryer Correctly
Always preheat your appliance to 375°F before adding your chicken. This crucial step ensures immediate crisping upon contact.
Your pieces start cooking the moment they hit the hot surface. This technique prevents sogginess and promotes even browning.
Most models need about 3 minutes to reach optimal temperature. You’ll hear the fan speed change when ready.
Cooking Time and Temperature Guidelines
Cook your breast portions for 10-12 minutes at 375°F. Flip halfway through for uniform browning.
Arrange pieces in a single layer without overcrowding. Proper spacing allows hot air circulation.
Check internal temperature with a meat thermometer. Your meat should reach 165°F for safety.

Monitor closely during the final 1-2 minutes. Cooking time varies slightly between appliance models.
When to Add Sauce and Cheese
Add sauce and cheese during the last 3-4 minutes of cooking. This timing prevents sogginess while ensuring proper melting.
Spread marinara lightly over each piece. Top immediately with shredded mozzarella or parmesan.
Close the appliance and continue cooking until cheese bubbles beautifully. Your topping will melt perfectly without overcooking.
Lightly spray with oil before the final cooking phase. This enhances browning without adding excess grease.
“The secret to perfect texture lies in timing your toppings perfectly – too early and you lose crispness, too late and you miss the melt.”
For larger batches, cook in multiple rounds rather than overcrowding. Keep finished portions warm in a 200°F oven.
Your fryer chicken parmesan emerges with that ideal crispy-yet-tender quality. Each bite delivers satisfaction through proper technique.
Serving Suggestions to Complete Your Meal
Complete your masterpiece with sides that elevate every bite to restaurant perfection. The right accompaniments transform your main attraction into a memorable dining experience.
Your carefully prepared cutlets deserve companions that complement their crispy texture and rich flavor. These additions turn your kitchen creation into a complete feast worthy of any occasion.
Perfect Pasta Pairings
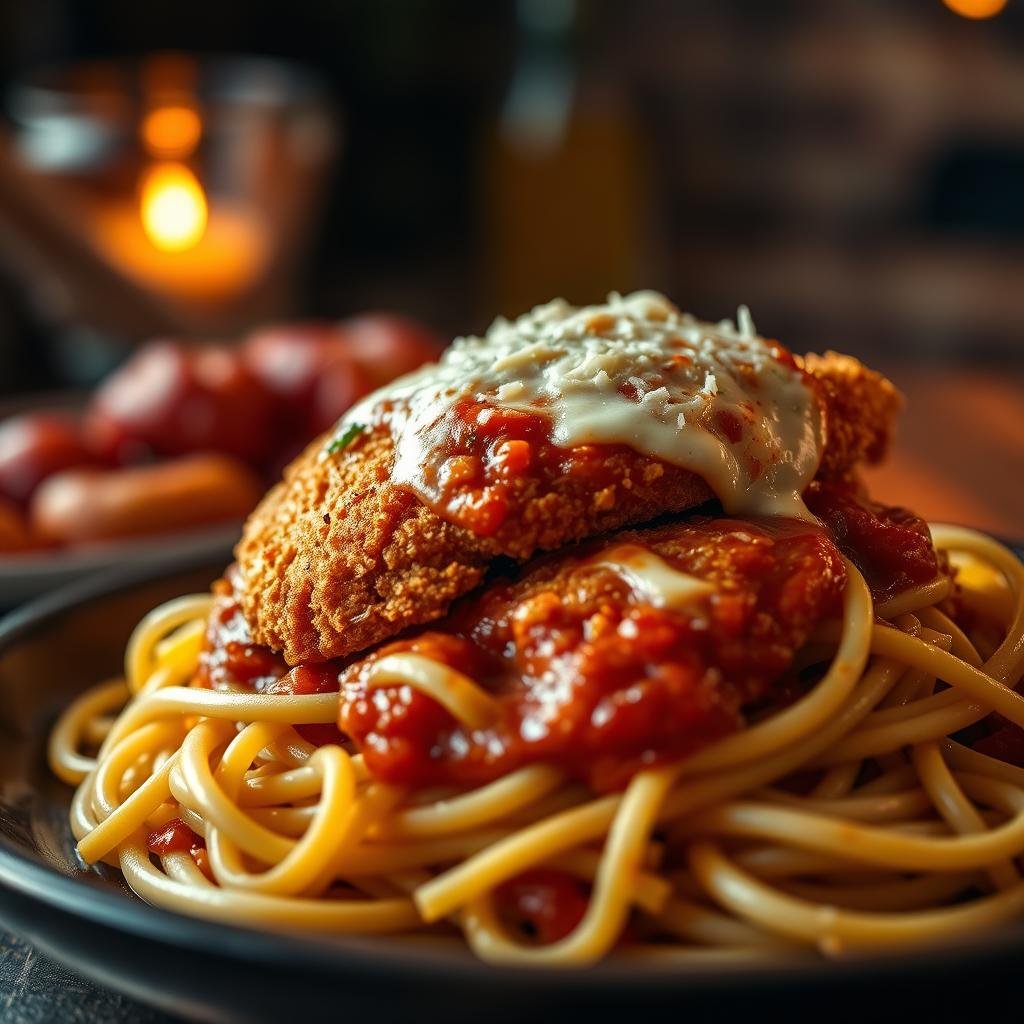
Angel-hair pasta seasoned with olive oil, garlic, and parmesan creates a light yet flavorful base. This delicate pasta complements your main dish without overwhelming its flavors.
Pesto pasta offers a vibrant herbal alternative that pairs beautifully with your creation. Both options allow your golden cutlets to remain the star of the show.
Extra marinara sauce for dipping adds another layer of Italian authenticity. Serve your pasta alongside rather than underneath to maintain that perfect crispness.
Fresh Salad Combinations
A classic Caesar salad provides the ideal crisp, refreshing contrast to your rich, cheesy main attraction. The creamy dressing and crunchy romaine create perfect textural balance.
Romaine wedge salad with blue cheese dressing offers another excellent option. Both choices cut through the richness while adding fresh flavors to your plate.
These cool, crisp accompaniments make your meal feel complete and balanced. They add nutritional value while enhancing the overall dining experience.
Vegetable Side Dishes
Steamed broccoli or cooked zucchini bring simple, healthy goodness to your table. These vegetables add color and nutrition without competing with your main attraction.
Innovative Cacio e Pepe Brussels sprouts offer a sophisticated twist on traditional sides. Their cheesy, peppery flavor profile complements your Italian-inspired creation perfectly.
Garlic mashed potatoes provide ultimate comfort for those seeking hearty accompaniments. They create a satisfying base that soaks up any extra sauce beautifully.
| Side Dish Category | Recommended Options | Flavor Profile & Benefits |
|---|---|---|
| Pasta Choices | Angel-hair with garlic oil, pesto pasta | Light texture, complementary flavors, authentic Italian |
| Salad Selections | Caesar salad, Romaine wedge | Refreshing contrast, crisp texture, cuts through richness |
| Vegetable Sides | Steamed broccoli, Cacio e Pepe sprouts | Nutritional balance, color variety, sophisticated options |
| Comfort Additions | Garlic mashed potatoes, garlic bread | Hearty satisfaction, sauce absorption, family favorite |
| Alternative Bases | Brown rice, white rice | Fiber-rich option, neutral canvas, gluten-free alternative |
Brown rice provides additional fiber and heartiness for those seeking alternative bases. This nutritious option balances your meal while accommodating different dietary preferences.
Garlic bread remains the classic choice for dipping into extra marinara sauce. Its crispy exterior and soft interior make it irresistible alongside your main creation.
Presentation techniques can make your homemade meal look impressively professional. Arrange components thoughtfully on warm plates for that restaurant-quality appearance.
These serving options transform your weeknight dinner into special occasion fare. Simple adjustments in accompaniments elevate the entire dining experience for your family or guests.
Variations, Storage, and Pro Tips
Your culinary creativity knows no bounds with this versatile preparation method. Discover how to adapt this favorite to various diets while maintaining perfect results every time.
Proper storage and reheating techniques ensure your efforts yield delicious meals for days. These professional insights elevate your cooking game to restaurant-quality consistency.
Diet-Friendly Modifications
Create gluten-free versions by skipping traditional breading methods. Use only egg wash and grated cheese for a crispy coating.
Mayo-coated versions offer incredible flavor with simplified preparation. Replace the egg wash with mayonnaise for rich, golden results.
Chicken thighs provide excellent alternatives to breast cutlets. Adjust cooking times slightly for their different thickness and texture.
Experiment with pesto or Alfredo sauce instead of traditional marinara. These variations create entirely new flavor profiles for your dish.
Sandwich creations transform your preparation into lunchtime favorites. Serve between toasted baguette bread with extra sauce for dipping.
Proper Storage and Reheating Methods
Store leftovers in airtight containers for up to four days. Keep sauce and cheese separate to maintain that perfect crispness.
Your air fryer chicken regains its original texture when reheated properly. Use 350°F for 3-4 minutes to restore crunch.
Microwave options work well when time is limited. This method quickly melts cheese while warming your meat thoroughly.
Always refrigerate cooked pieces within two hours of preparation. This practice ensures food safety and quality maintenance.
Expert Tips for Perfect Results Every Time
Refrigerate breading pieces for 30 minutes before cooking. This crucial step helps coating adhere during the frying process.
Avoid aluminum foil as it blocks essential airflow. Your appliance needs proper circulation for even cooking.
Maintain temperatures between 350°-400°F for optimal results. This range ensures thorough cooking without burning.
Cook raw chicken safely by verifying internal temperatures. Use a meat thermometer to reach 165°F consistently.
| Common Issue | Solution | Prevention Tip |
|---|---|---|
| Breading falling off | Press crumbs firmly, refrigerate before cooking | Ensure thorough egg wash coverage |
| Uneven cooking | Arrange in single layer, flip halfway | Maintain consistent piece thickness |
| Cheese not melting | Add during last 3-4 minutes | Shred cheese finely for faster melting |
| Sogginess | Keep sauce separate until serving | Reheat in air fryer not microwave |
| Overcooking | Check temperature at 8 minutes | Use thinner cutlets for faster cooking |
Your fryer chicken parmesan recipe becomes infinitely adaptable with these modifications. These professional techniques guarantee satisfaction with every variation you create.
Mastering storage and reheating extends your culinary efforts across multiple days. You’ll enjoy restaurant-quality meals whenever cravings strike.
Conclusion: Your New Go-To Italian Dinner
You’ve mastered a game-changing kitchen technique that delivers incredible results. Your countertop appliance creates that perfect golden crust everyone loves.
This approach transforms weeknight meals into special occasions. You achieve restaurant-quality texture with minimal effort and maximum flavor.
Customize your creation with various cheeses and sauces. The versatile method adapts to any taste preference or dietary need.
Your family will request this dish repeatedly. It brings joy to the table in just minutes.
Remember the pro tips for consistent excellence. Proper breading and cooking time ensure perfect results every attempt.
This recipe becomes your secret weapon for impressive dinners. Enjoy that satisfying crunch and melted cheese whenever cravings strike.