Imagine biting into a perfectly cooked piece of meat. It’s juicy inside with a crispy, golden crust outside. Now imagine making this masterpiece in your kitchen with minimal effort.
This cooking method transforms your meals. It delivers consistent results every time. You get that wonderful texture without the splatter and mess of traditional methods.
Best of all? You can achieve this in just minutes. Your countertop appliance becomes your personal chef. It unlocks incredible flavor with unbelievable convenience.
Key Takeaways
- Create juicy, tender results with a beautiful sear using your countertop appliance
- Enjoy cooking times as low as 6-8 minutes for medium-rare perfection
- Experience minimal cleanup compared to traditional stovetop or grill methods
- Adapt your technique to various cuts and personal preferences easily
- Achieve consistent, delicious outcomes every time you prepare your meal
Why Air Fryer Steak Delivers Restaurant-Quality Results at Home
Professional chefs use specific techniques that your appliance can now replicate. The magic happens through advanced heat circulation that transforms ordinary cuts into extraordinary meals.
The Science Behind Exceptional Results
Your device creates a controlled environment with rapid hot air movement. This technology mimics professional kitchen equipment at a fraction of the cost.
Intense heat circulation forms that coveted crust instantly. It seals in natural juices while creating beautiful browning. You get consistent texture throughout without uneven spots.

High wattage models generate sufficient power for perfect searing. A light oil coating enhances this effect dramatically. The result rivals any professional kitchen creation.
Advantages Over Conventional Methods
Experience significantly faster preparation compared to traditional methods. Most cuts reach ideal doneness in under fifteen minutes. This speed doesn’t compromise flavor or texture.
Minimal cleanup becomes your new reality. No more splattered stovetops or smoky kitchens. Your space stays clean while you create masterpiece meals.
Nutritional benefits shine through reduced fat usage. You achieve magnificent browning with minimal oil. This approach maintains fantastic flavor while cutting unnecessary calories.
Even heat distribution prevents overcooked edges. No more rare centers with burnt exteriors. Every bite delivers consistent perfection from edge to edge.
The controlled environment ensures reliable outcomes every time. Your protein cooks evenly while retaining natural moisture. This method transforms weeknight dinners into gourmet experiences.
Choosing the Perfect Cut for Your Air Fryer Steak
The secret to incredible results lies in your initial choice at the butcher counter. Your selection determines everything from texture to cooking time. Smart choices here set the stage for magnificent outcomes.
Best Steak Cuts for Air Frying Success
Certain varieties deliver superior performance in your countertop appliance. Ribeye stands out with its generous marbling and rich taste. The fat content melts during cooking, creating incredible juiciness.
Sirloin offers excellent value while maintaining wonderful texture. Its leaner profile still produces satisfying results. Flat iron cuts provide remarkable tenderness at a reasonable price point.

New York strip brings balanced flavor with reliable cooking characteristics. Each of these options works beautifully with various recipes. You can adapt cooking times slightly based on your specific cut.
Understanding Thickness and Marbling Requirements
Proper dimensions make all the difference in your final outcome. Aim for pieces that measure at least one inch thick. This prevents overcooking while allowing proper browning.
Thinner cuts risk drying out before developing that perfect crust. Consistent thickness across your meat ensures even cooking. Look for uniform pieces without dramatic tapering.
Marbling refers to the delicate fat streaks within the muscle tissue. This natural fat distribution enhances flavor dramatically during cooking. It transforms ordinary meals into extraordinary dining experiences.
Select pieces with even white speckling throughout the red meat. Avoid large, solid fat sections that won’t render properly. The right marbling creates self-basting magic as it cooks.
Your chosen recipe might suggest light olive oil brushing. This complements the natural fats already present in quality cuts. Together they create that magnificent crust you crave.
Essential Preparation Steps Before Cooking
Two simple yet transformative steps separate ordinary outcomes from extraordinary dining experiences. These pre-cooking rituals ensure your final result rivals professional creations. They require minimal effort but deliver maximum impact on texture and flavor.
Mastering these techniques sets the foundation for consistent perfection. You’ll achieve that coveted crust and juicy interior every time. The science behind these methods proves their undeniable value.
Properly Bringing Steak to Room Temperature
Allow your selection to rest at room temperature for 20-30 minutes before cooking. This crucial step ensures even heat distribution throughout your protein. Cold centers lead to uneven doneness and compromised texture.
The science proves this approach works wonders. Room temperature meat cooks more uniformly from edge to edge. You avoid rare centers while the exterior overcooks.
This preparation reduces total time in your appliance. Your countertop unit works more efficiently with properly tempered ingredients. The result? Perfect outcomes in fewer minutes.

The Crucial Step of Drying Your Steak Thoroughly
Pat your selection completely dry using paper towels before proceeding. Remove all surface moisture for superior browning and crust development. This non-negotiable step makes or breaks your final texture.
Excess moisture creates steam instead of beautiful searing. Steam compromises that crispy exterior you crave. Thorough drying ensures proper Maillard reaction occurs.
This technique enhances flavor absorption from seasonings and marinades. Dry surfaces better adhere to rubs and spices. Your favorite recipes will taste dramatically improved.
Remember: moisture is the enemy of magnificent browning. Skipping this step means sacrificing texture and visual appeal. Always dedicate time to proper drying for exceptional results.
Creating Flavorful Seasonings and Marinades
Elevating your protein from simple to spectacular starts with mastering the art of flavor building. Your seasoning choices transform basic ingredients into memorable dining experiences. This process requires minimal effort but delivers maximum impact on your final result.
The right combinations enhance natural tastes without overwhelming them. You create depth and complexity that rivals professional kitchen creations. Best of all, these techniques work with various cooking methods and personal preferences.
Simple Yet Powerful Seasoning Combinations
Classic blends often deliver the most impressive results. A basic mix of salt and pepper forms the foundation of countless delicious recipes. This timeless combination highlights the natural richness of your main ingredient.
Garlic powder adds wonderful aroma and depth without burning concerns. Dried herbs like rosemary or thyme introduce earthy notes that complement the meat’s natural flavor. Paprika brings subtle sweetness and beautiful color to your creation.
Remember: less is often more when working with quality ingredients. Your goal should enhance rather than mask the natural taste. These simple combinations work beautifully for quick weeknight meals.
Oil Selection for Optimal Browning and Flavor
Your oil choice dramatically affects both browning and final taste. High-smoke-point varieties prevent burning while promoting beautiful crust development. They withstand the intense heat of your countertop appliance without breaking down.
Avocado oil offers neutral taste with excellent high-temperature performance. Light olive oil provides subtle fruitiness that complements various herb combinations. Both options help spices adhere properly to the surface.
The right oil enhances the Maillard reaction – that chemical process responsible for golden-brown crust formation. A light coating ensures even cooking and prevents sticking issues. This simple step makes a significant difference in your outcome.
Always apply oil sparingly using a brush or spray bottle. Too much can lead to steaming rather than proper searing. The perfect amount creates that magnificent texture you crave in every bite.
Mastering the Air Fryer Setup and Preheat Process
Your success begins before you even place your meat in the basket. Proper preparation of your countertop appliance makes all the difference between mediocre and magnificent results. This crucial phase sets the stage for everything that follows.
Think of this step as heating your oven before baking. You wouldn’t start with a cold surface. The same principle applies here for achieving that perfect crust.
Why Preheating Is Non-Negotiable for Perfect Steak
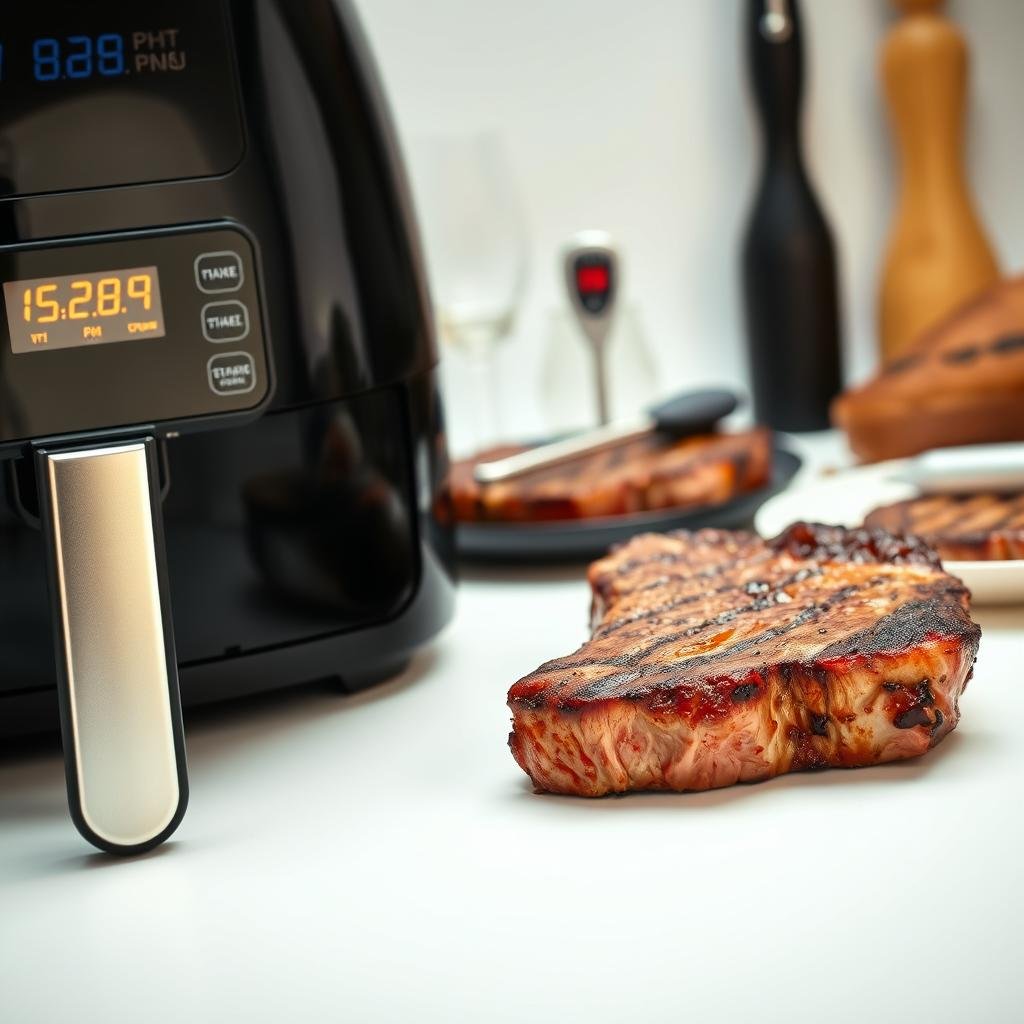
Always preheat your air fryer to 400°F for about five minutes. This ensures immediate searing when your protein hits the hot surface. That instant heat contact creates the beautiful browning you desire.
Without proper warming, you risk steaming instead of searing. Moisture evaporates slowly, preventing crust formation. The result? Soggy surfaces instead of crispy perfection.
Preheating also reduces total cooking time significantly. Your appliance works more efficiently when starting at optimal temperature. You save precious minutes while achieving better texture.
Consistency becomes your new normal with this simple habit. Every session delivers identical results because you begin with the same thermal conditions. No more guessing games or unpredictable outcomes.
Optimal Temperature Settings for Different Air Fryer Models
Most countertop appliances perform beautifully at 400°F. This temperature works universally across various brands and models. It’s the sweet spot for achieving golden-brown exteriors.
Higher wattage units (like 1800W models) might brown slightly faster. However, the same temperature setting applies regardless of power. The key lies in understanding your specific appliance’s characteristics.
Some recipes might suggest slight adjustments based on thickness. Thicker cuts sometimes benefit from slightly lower temperatures. But 400°F remains the standard starting point for most preparations.
Always verify your appliance’s readiness before adding ingredients. The heating indicator light usually signals proper temperature. Some models beep when reaching the set point.
Avoid overcrowding your basket during this process. Proper air circulation depends on adequate space between pieces. Crowding creates steam pockets that prevent even browning.
The Step-by-Step Cooking Process for Air Fryer Steak
Now comes the moment of truth. Your perfectly prepared meat meets the heat. This is where magic transforms preparation into perfection.
Follow these simple steps for incredible results every time. You’ll create that beautiful crust and juicy interior. The process becomes second nature after just a few tries.
Timing and Flipping Techniques for Even Cooking
Place your seasoned pieces in the preheated basket. Set your timer for 6-12 minutes based on thickness. Always flip halfway through the cooking time.
This crucial technique ensures both sides develop that gorgeous sear. It prevents one side from overcooking while the other remains underdone. Your result will be perfectly even from edge to edge.
Medium-rare perfection typically takes 6-8 total minutes. Well-done requires 10-12 minutes of cooking time. Adjust slightly based on your specific appliance’s power.
How to Arrange Steaks for Maximum Airflow
Proper arrangement makes all the difference in your outcome. Never overlap pieces in the basket. Leave space between each piece for optimal hot air circulation.
This prevents steam pockets from forming between pieces. Steam would ruin that crispy crust you worked so hard to achieve. Proper spacing ensures uniform cooking throughout.
Single-layer placement is absolutely essential. Crowding creates uneven results and longer cooking times. Give each piece room to breathe and brown beautifully.
“The flip isn’t just a suggestion—it’s the difference between good and great results. That mid-cook turn ensures perfect browning on both sides.”
Monitor your progress through the viewing window. Look for that deep golden-brown color developing. Different models may require slight timing adjustments.
Remember that natural fat content affects cooking time slightly. Marbled pieces might need a minute less than lean cuts. Your favorite recipes will guide you toward perfection.
Achieving Your Perfect Doneness Every Time
Precision separates good results from extraordinary dining experiences. Mastering this final phase ensures consistent perfection with every preparation. You eliminate guesswork and embrace reliable outcomes.
Internal Temperature Guide for All Preference Levels
Target temperatures determine your final texture and juiciness. Medium-rare perfection requires 135°F internal temperature. This creates that beautiful pink center with incredible tenderness.
Medium doneness reaches 145°F for slightly firmer texture. Well-done preparations need 160°F for fully cooked results. These numbers guarantee consistent outcomes across various recipes.
Remember that temperatures rise slightly during resting. Your protein continues cooking after removal from heat. This carryover effect adds about 5 degrees to your final result.
Using a Meat Thermometer for Precision Results
This tool becomes your most trusted kitchen companion. It provides absolute certainty about your cooking progress. No more cutting into beautiful pieces to check doneness.
Insert the probe into the thickest part of your protein. Avoid touching bones or fat deposits for accurate readings. Check temperatures about five degrees below your target.
Resting allows magical transformations to occur. Juices redistribute throughout the muscle fibers. This creates maximum tenderness in every single bite.
Avoid common mistakes like overcooking from inaccurate timing. Your meat thermometer prevents these disappointments. It ensures perfect results matching your exact preferences.
Different cuts might require slight adjustment techniques. Thicker pieces need deeper probe placement. Thinner cuts require careful angle positioning.
Serving and Presentation Tips for Restaurant-Quality Results
The final moments before serving determine your dining experience. Proper techniques transform your creation from good to unforgettable. You elevate every aspect through simple yet effective methods.
Presentation matters as much as preparation. These finishing touches complete your masterpiece. They ensure your meal looks as incredible as it tastes.
The Importance of Resting Your Steak Properly
Always allow your cooked piece to rest for 5-10 minutes. This pause lets juices redistribute throughout the muscle fibers. You prevent dryness while enhancing natural moisture.
Cover loosely with foil during this waiting period. The tent traps gentle heat without steaming the surface. Your result stays warm while achieving perfect texture.
This step makes a dramatic difference in final tenderness. Rushing to slice causes precious juices to escape onto the plate. Patience rewards you with incredible flavor in every bite.
Different thicknesses require slight timing adjustments. Thicker cuts benefit from longer resting periods. Thinner pieces need less time to achieve optimal results.
Slicing Techniques That Enhance Tenderness
Always cut against the grain for maximum tenderness. This technique breaks up tough muscle fibers. You create pieces that melt in your mouth effortlessly.
Identify the direction of the muscle fibers first. Position your knife perpendicular to these lines. Each slice should measure about ¼ inch thick for ideal texture.
Use a sharp chef’s knife for clean cuts. Dull blades tear the meat instead of slicing neatly. This preserves the beautiful crust you worked so hard to create.
Angle your knife slightly for attractive presentation. Bias-cut slices look more professional on the plate. They also provide larger surface area for sauce absorption.
Perfect Side Dishes to Complement Your Air Fryer Steak
Choose accompaniments that balance richness and texture. Creamy mashed potatoes provide comforting contrast. Crisp green salads add refreshing lightness to your meal.
Roasted vegetables caramelize beautifully alongside your main course. Their natural sweetness complements the savory notes perfectly. You create harmonious flavor combinations effortlessly.
Consider these classic pairings for inspiration:
| Side Dish | Preparation Method | Flavor Profile |
|---|---|---|
| Garlic Mashed Potatoes | Boiled and whipped with roasted garlic | Creamy, savory, comforting |
| Balsamic Glazed Asparagus | Roasted with balsamic reduction | Tangy, slightly sweet, crisp-tender |
| Classic Caesar Salad | Fresh romaine with homemade dressing | Creamy, garlicky, refreshing |
| Herb-Roasted Mushrooms | Sautéed with thyme and rosemary | Earthy, aromatic, savory |
Add a pat of compound butter right before serving. The melting richness enhances the final experience. Your guests will remember this attention to detail.
Serve immediately after resting to maintain ideal temperature. Warm plates help preserve heat during dining. Your effort shines through from first glance to last bite.
Conclusion: Your Path to Consistently Perfect Air Fryer Steak
You now hold the keys to incredible meals right in your kitchen. Following these steps ensures amazing results every single time. Your countertop appliance becomes a tool for culinary magic.
Enjoy consistent doneness and juicy texture with minimal cleanup. Experiment with different cuts and seasonings to suit your taste. Try new recipes to keep your meals exciting and fresh.
Remember that proper resting and a meat thermometer guarantee flawless outcomes. With practice, this method will become your go-to for impressive dinners. You’ll create masterpieces with confidence and ease.